
There’s an old saying that if March comes in like a lion, it will go out like a lamb. Of course, that may depend on where you live but, in many areas, there is a good deal of truth to this adage. For much of the country, the chill of winter is finally fading, and we are beginning to see the first signs of spring. We here at Plant ID Cards are excited to begin our spring gardening and want to help you get started too! A little early-season care can set the stage for healthy plants throughout the year. Here are some of the tasks we are busy working on:
1.Clean Up Flower Beds
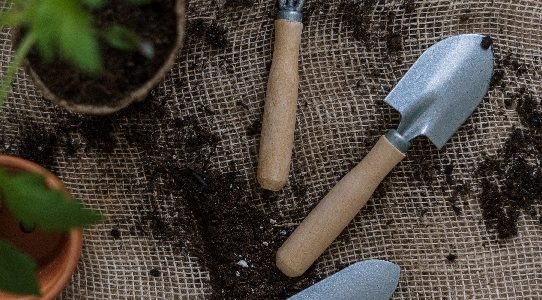
Winter can leave flower beds looking messy with dead leaves, broken stems, and debris. Start by raking out any accumulated plant matter to allow fresh air and sunlight to reach the soil. Remove any weeds that may have started to sprout, giving your plants a healthy, competition-free space to grow.
2. Divide the Perennials
Spring is the perfect time to divide perennials that have grown too large or started to crowd their space. Plants like hostas, daylilies, and irises benefit from division, promoting healthier growth and more abundant blooms. Carefully dig around the root ball, separate the plant into sections, and replant in new spots or share with friends and neighbors.
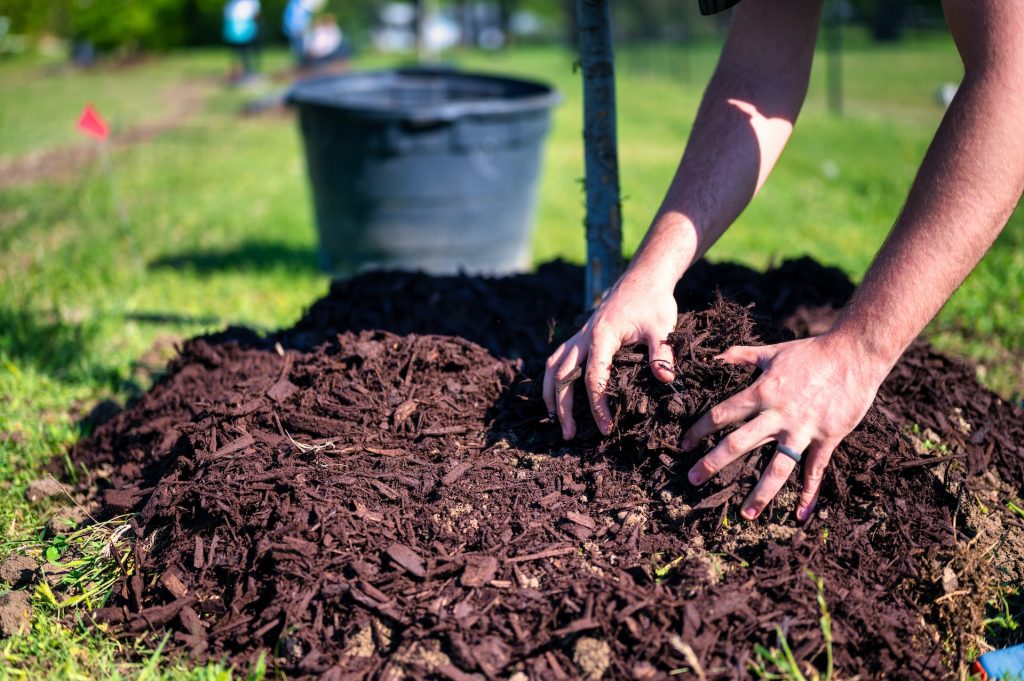
3. Add Mulch
A fresh layer of mulch helps to retain moisture, suppress weeds, and regulate soil temperature as the season changes. Apply a 2-3 inch layer around plants and trees, taking care to keep it away from the base of stems and trunks to prevent rot. Organic mulches like shredded bark, straw, or compost enrich the soil as they break down over time.
4. Prune Trees and Shrubs
Early spring is the ideal time to prune many trees and shrubs before they fully leaf out. Remove dead or damaged branches to encourage healthy new growth. Be mindful of flowering shrubs—prune spring bloomers like lilacs and forsythia after they flower, while summer bloomers like roses and hydrangeas can be pruned now for optimal shape and blooms.
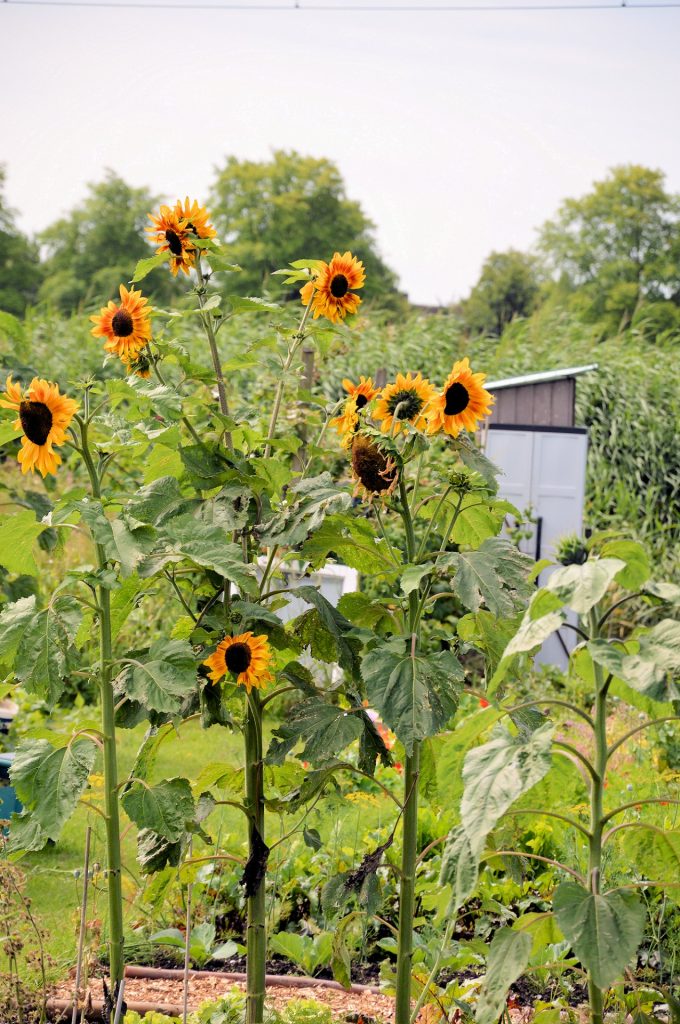
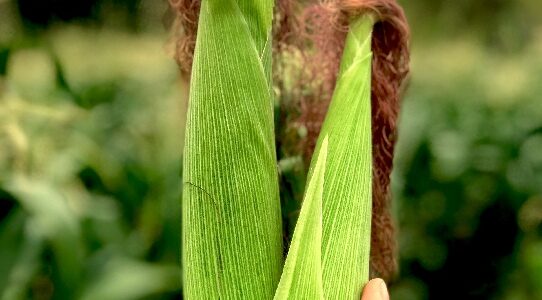
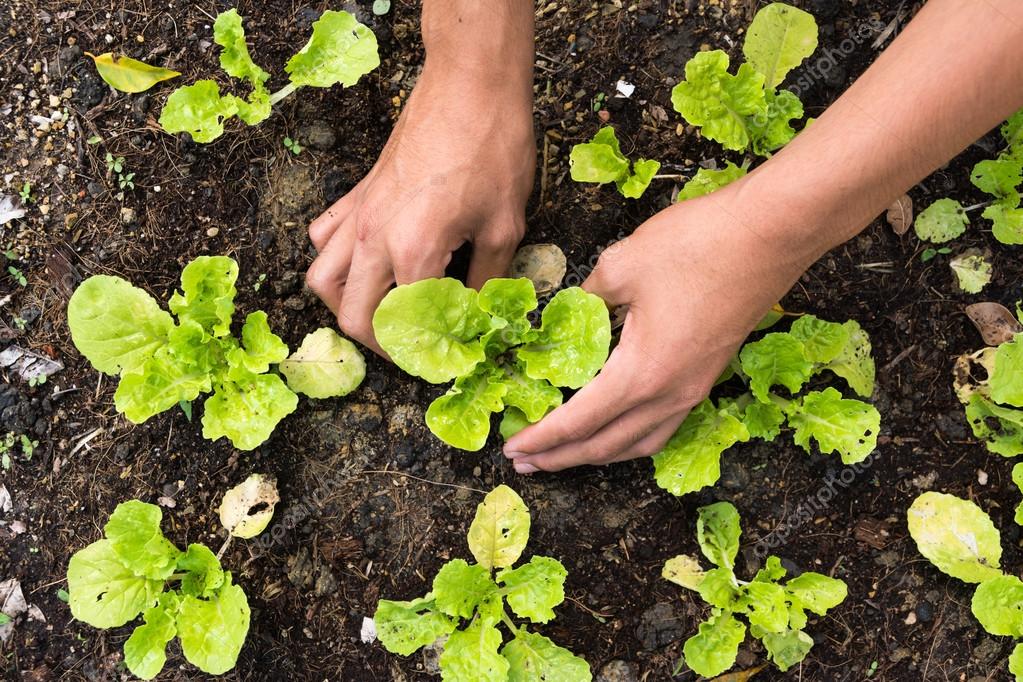
5. Plant Vegetables
Spring is an excellent time to start planting cool-season vegetables such as lettuce, spinach, carrots, peas, and radishes. Prepare your garden beds by loosening the soil, adding compost, and ensuring proper drainage. For a head start, consider sowing seeds indoors and transplanting them once the weather stabilizes. As the season progresses, you can gradually introduce warm-season crops like tomatoes, peppers, and cucumbers.
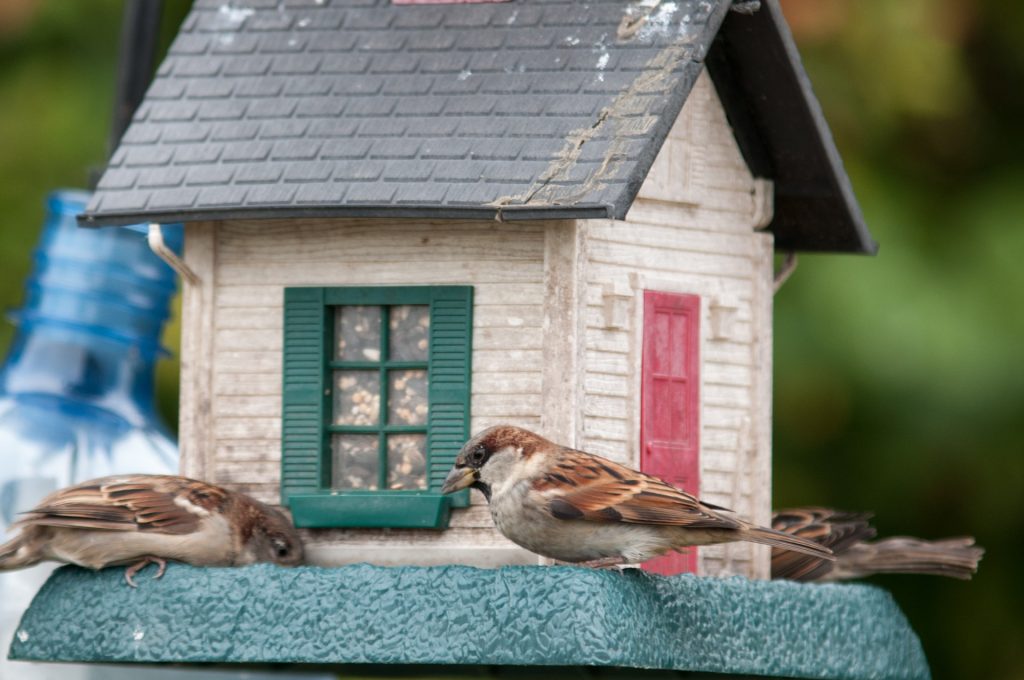
6. Clean Bird Feeders
And last, but not least, don’t forget the birds! Spring brings returning birds, and keeping your bird feeders clean ensures they have a healthy feeding environment. Old seed and moldy residue can spread disease, so take time to empty, wash, and thoroughly dry feeders before refilling them. A mild solution of soap and water or a diluted vinegar rinse works well for cleaning. Providing fresh food and water will encourage birds to visit your garden throughout the season.
The Results?
With these essential spring gardening tasks completed, your garden will be well-prepared for a season of beauty and growth. Take the time to nurture your plants now, and you’ll enjoy the rewards all season long!
And don’t forget, if you live in the central Oregon area, we at Woodlawn Landscaping can help you get your garden, and hardscaping ready for any season! Give us a call!